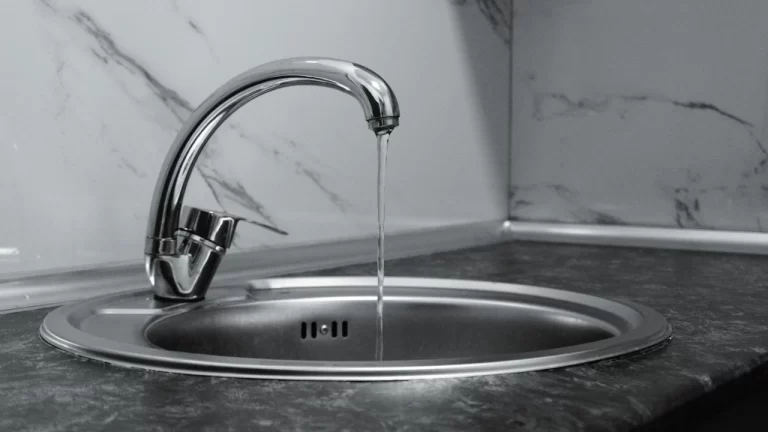
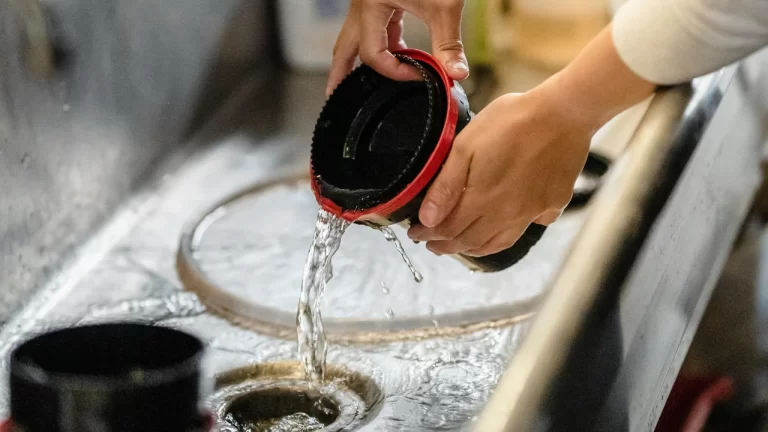
Few household plumbing problems are more aggravating than a shower that drips constantly, refuses to hold a steady temperature, or requires a heroic effort just to turn the handle. Nine times out of ten, the culprit is a worn-out shower cartridge — a small but critical component sitting inside your faucet valve that controls water flow and temperature.
The good news is that learning how to replace a shower cartridge is one of the more manageable DIY plumbing tasks a homeowner can tackle. The not-so-good news is that doing it wrong can result in flooding, cross-threading, or voiding the manufacturer’s warranty on your fixtures.
In this guide, we walk you through everything you need to know: what a shower cartridge actually does, the tools required, a clear step-by-step replacement process, and the warning signs that tell you it is time to stop DIY-ing and call a licensed plumber. Whether you are in a 1950s Toronto semi-detached or a newer build in Mississauga, this guide has you covered.
Contact us today through our form or call +1 (416) 252-5557 for expert plumbing, drain, and related services in Toronto, Etobicoke, Mississauga, and across the GTA.
What Is a Shower Cartridge and Why Does It Fail?
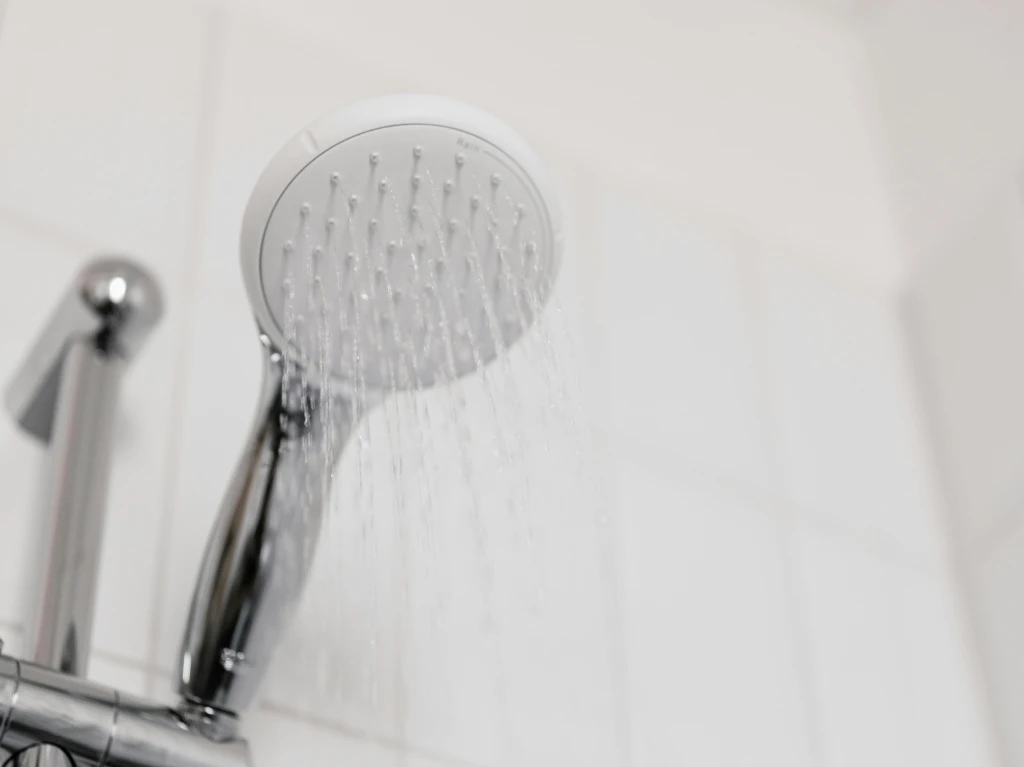
A shower cartridge is a valve insert — usually made of plastic and brass — that sits inside your shower faucet body and regulates how hot and cold water mix before flowing out of the showerhead. Unlike older two-handle faucets with rubber washers, most modern single-handle showers use a cartridge-based system for smoother, more precise control.
Over time, cartridges wear out. The seals and O-rings inside degrade due to mineral build-up from hard water (a very common issue in the GTA), general wear from daily use, and fluctuating water pressure. When the cartridge starts to fail, it tends to make itself known in a few very recognizable ways.
Signs Your Shower Cartridge Needs Replacing
- Constant dripping from the showerhead even after the handle is fully closed
- Difficulty controlling temperature — the water suddenly runs scalding hot or ice cold with barely any handle movement
- Stiff or hard-to-turn handle that requires excessive force to operate
- Water leaking behind the wall or around the base of the faucet handle, which can cause hidden water damage over time
- Inconsistent water pressure that fluctuates without any changes to the handle position
If you are noticing any combination of these issues, there is a strong chance that replacing the cartridge will solve the problem completely.
Tools and Materials You Will Need
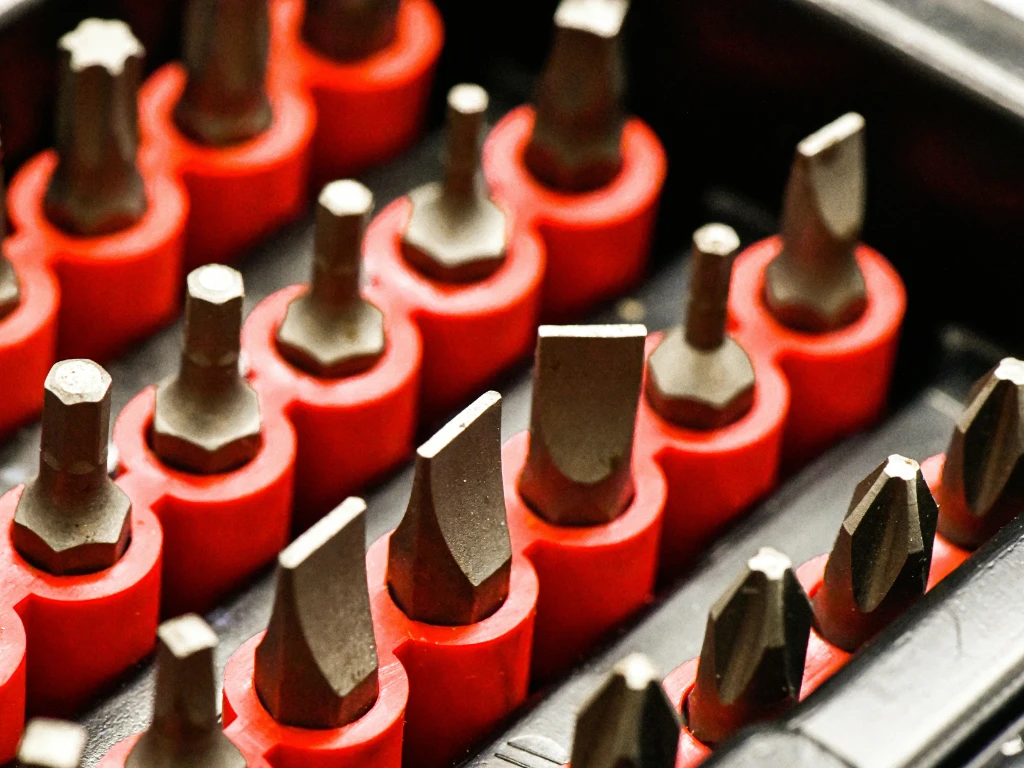
Before you begin, gather everything so you are not making emergency hardware runs mid-job.
- Flathead and Phillips screwdrivers
- Needle-nose pliers or cartridge puller tool
- Adjustable wrench or groove-joint pliers
- Replacement cartridge (brand- and model-specific — see note below)
- Plumber’s grease or silicone-based lubricant
- Teflon tape
- Bucket and towels
- Flashlight
Important note on cartridge compatibility: Shower cartridges are not universal. A Moen cartridge will not fit a Delta or Kohler faucet. Before purchasing a replacement, identify your faucet brand and model number. This information is often printed on the faucet body or can be found on your original installation paperwork. Bringing the old cartridge to a plumbing supply shop is the most reliable way to ensure you get the right match.
How to Replace a Shower Cartridge: Step-by-Step
Step 1: Shut Off the Water Supply
Locate the shut-off valves for your shower. Some showers have dedicated access panels — often in an adjacent closet or the wall behind the shower — with individual shut-off valves. If your shower does not have its own valves, you will need to shut off the main water supply to the house.
Once the water is off, turn the shower handle to the fully open position to release any residual water pressure in the line. Keep a towel and bucket handy for any remaining water sitting in the pipes.
Step 2: Remove the Handle and Trim Plate
Look for a decorative cap on the front of the handle — this is usually snapped on and can be pried off gently with a flathead screwdriver. Beneath it, you will find a screw (typically Phillips or hex head) holding the handle in place. Remove the screw and pull the handle straight off.
Next, unscrew the trim plate (also called the escutcheon) that sits flush against the wall. This may be held in place by screws or simply press-fitted. Set all these small pieces somewhere safe — they are easy to lose down a drain.
Step 3: Access and Remove the Cartridge
With the trim removed, you should now see the faucet valve body. Depending on your brand, there may be a retaining clip or nut holding the cartridge in place. Use needle-nose pliers to remove the clip, or an adjustable wrench to loosen the retaining nut.
Grasp the cartridge stem and pull it straight out. A cartridge puller tool (available at most hardware stores) makes this significantly easier, especially on older cartridges that have corroded into place. Do not twist or angle the cartridge as you pull — this can damage the valve body.
Take a photo before removing the cartridge. Note the orientation of the cartridge, particularly which side is marked “hot.” Installing the new cartridge backwards is one of the most common mistakes homeowners make, and it will cause your hot and cold to be reversed.
Step 4: Inspect the Valve Body
Before installing the new cartridge, take a moment to inspect the inside of the valve body. Look for signs of mineral build-up, corrosion, or damage to the valve seat. Use a damp cloth to wipe away any debris. If the valve body itself is cracked or severely corroded, replacing the cartridge alone will not fix the problem — you will need a full valve replacement, which is best left to a professional plumber.
Step 5: Install the New Cartridge
Apply a thin coat of plumber’s grease or silicone lubricant to the O-rings on the new cartridge. This helps it seat properly and extends the life of the seals.
Insert the new cartridge into the valve body, aligning it carefully with the orientation you photographed in Step 3. Push it firmly straight in until it seats fully. Reinstall the retaining clip or nut to secure it in place.
Step 6: Reassemble and Test
Reattach the trim plate and handle, reinstall the screw, and snap the decorative cap back into place. Turn the water supply back on slowly — do not crank it open all at once. Check for leaks around the valve before getting into the shower.
Turn the handle on and test the water temperature in both directions. If hot and cold are reversed, shut the water off, remove the cartridge, rotate it 180 degrees, and reinstall. If the handle is stiff or the temperature is still inconsistent, there may be a deeper issue with your plumbing system.
Contact us today through our form or call +1 (416) 252-5557 for expert plumbing, drain, and related services in Toronto, Etobicoke, Mississauga, and across the GTA.
When to Call a Professional Plumber

Replacing a shower cartridge is a reasonable DIY project under the right circumstances, but there are situations where attempting to push through on your own can lead to costly damage.
You Cannot Identify Your Faucet Brand or Model
Installing the wrong cartridge and forcing it into the valve body can crack the housing, which may require replacing the entire rough-in valve — a much bigger job that involves opening up the wall.
The Cartridge Is Stuck or the Valve Body Is Damaged
Older faucets, especially in homes with hard water like many found across the GTA, can develop cartridges that are essentially welded in place by mineral deposits. Forcing these out without the proper tools can shear the cartridge stem inside the valve.
You Notice Water Damage Behind the Wall
If your shower has been leaking for a while, there is a real possibility of mould, rot, or structural damage behind the tile. In these cases, a cartridge swap will not address the root issue and a thorough inspection by a plumber is essential.
You Are Not Comfortable With Plumbing Work
There is no shame in calling in a professional. A licensed plumber can replace a shower cartridge quickly, with the right parts on hand, and ensure everything is sealed and functioning correctly the first time — often for less than the cost of a botched DIY repair.
Long-Term Tips for Extending the Life of Your Shower Cartridge
With a few simple habits, you can significantly reduce how often you need to replace your shower cartridge.
- Install a water softener or filter: Hard water is the number-one cause of premature cartridge failure in Ontario homes. Reducing mineral content protects all your fixtures and appliances.
- Avoid over-tightening the handle: Cranking the handle beyond the natural stop point stresses the internal seals and wears the cartridge faster.
- Flush your showerhead regularly: Mineral build-up in the showerhead raises water pressure back through the system and puts added strain on the cartridge.
- Schedule annual plumbing inspections: A plumber can spot early signs of cartridge wear before a small drip becomes a water damage problem.
Why Homeowners Across the GTA Trust Absolute Draining & Plumbing
When a DIY project runs into complications — or when you simply want the job done right the first time — Absolute Draining & Plumbing is the team Toronto homeowners have relied on for over 20 years. We handle everything from straightforward shower cartridge replacements to full valve rough-ins and bathroom plumbing overhauls.
Our flat-rate pricing means you will never be surprised by the final invoice. We are fully licensed and insured, and we stand behind our work with a 25-year warranty on drain repairs. Whether you are dealing with a persistent drip, a hot-water issue, or a leak you cannot quite locate, our technicians arrive equipped and ready to solve the problem on the same visit.
Contact us today through our form or call +1 (416) 252-5557 for expert plumbing, drain, and related services in Toronto, Etobicoke, Mississauga, and across the GTA.